
How to Apply Vinyl Graphics | Fitting Guide by Graphicomm Digital Ltd
- Apr 29
- 2 min read
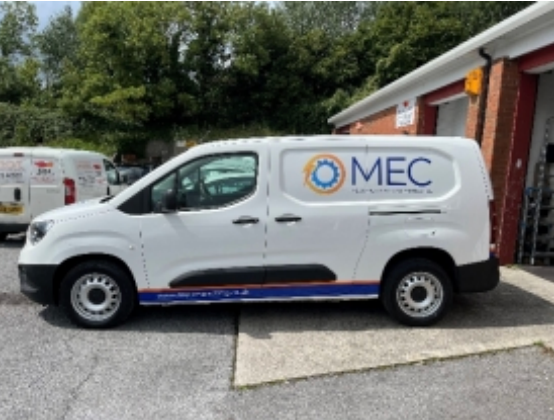
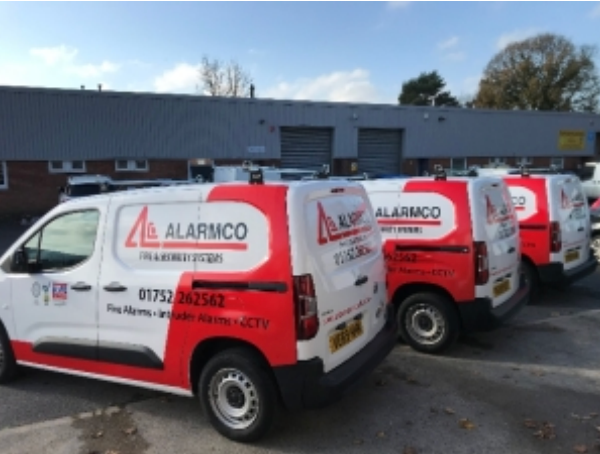
Looking to apply your own vinyl graphics? At Graphicomm Digital Ltd, we supply high-quality, ready-to-fit graphics for vehicles, signage, windows, and more.
This step-by-step guide will show you how to install your graphics properly and achieve a professional finish. If you need any help along the way, we’re always happy to offer advice or provide a full fitting service.
Professional Graphics Supplied Ready to Install
All graphics from Graphicomm Digital Ltd are:
Precision cut and professionally printed
Supplied ready for easy application
Suitable for DIY installation or professional fitting
Whether you're applying vehicle graphics, wall decals, window graphics, or signage, this guide will help you get the best results.
What You Need to Apply Vinyl Graphics
Before starting your vinyl graphic installation, make sure you have:
A clean, dust-free environment
Squeegee or applicator
Masking tape
Spray bottle with water (for wet application)
Lint-free cloth
Step-by-Step Guide to Applying Vinyl Graphics
1. Prepare the Surface
Proper surface preparation is essential for long-lasting results.
Clean thoroughly to remove dirt, grease, and dust
Ensure the surface is completely dry
Avoid applying in extreme temperatures
Proper preparation improves adhesion and prevents bubbles in vinyl graphics.
2. Apply the Graphic
Dry Application (Small Vinyl Graphics)
Peel backing gradually
Apply slowly using a squeegee 2. Position Your Vinyl Graphic
Place your graphic in position without removing the backing
Secure with masking tape
Check alignment from multiple angles
Create a hinge using tape once positioned correctly.
Smooth from the centre outward
Wet Application (Large Vinyl Graphics)
Lightly mist the surface with water
Position the graphic (allows adjustment)
Squeegee out water and air bubbles
3. Remove Air Bubbles and Smooth
Apply firm, even pressure
Work from the centre outward
Take your time for a clean finish
4. Remove Transfer Tape
Peel back slowly at a sharp angle
Ensure the vinyl graphic stays in place
5. Allow Time to Set
Leave for up to 24 hours to fully bond
Avoid washing or heavy use during this period
Common Vinyl Graphic Installation Mistakes to Avoid
Applying graphics to dirty surfaces
Rushing the positioning stage
Trapping air bubbles
Applying in poor weather conditions
Vinyl Graphics Fitting Support
At Graphicomm Digital Ltd, we don’t just supply your graphics—we support you every step of the way.
All graphics are supplied ready to install
Expert advice available before and during fitting
Professional fitting service available if preferred
If you’re unsure about applying your vinyl graphics yourself, simply get in touch with our team.
Need Help with Your Vinyl Graphics?
Whether you need guidance or a full installation service, Graphicomm Digital Ltd are here to help.
Contact us today to discuss your project or get expert advice on fitting your graphics.


Comments